Table of Contents[Hide][Show]
Do you like sauerkraut? The answer may be yes. Or perhaps you have never tried it, yet.
Did you know that it can be one of the simplest (2 ingredients!) healthy recipes to prepare at only pennies per serving? That’s why we’ve got a super easy homemade sauerkraut recipe for you today.

What makes sauerkraut so nutritionally beneficial is the probiotics that are formed when the cabbage ferments. Home prepared sauerkraut sent off to labs has shown it contains billions of beneficial microbes, which help to kill off pathogens and replenish healthy gut flora.
Probiotics are essential to gut health, especially with the environmental changes and increasingly poor food choices we face today. Lots of research the past few years has shown how intricately connected our gut microbes are to all types of health conditions, influencing everything from our immune system, hormones, inflammation and more. Yep, just those gut bugs can do all that!
While people pay top dollar for good sources of probiotics, you can make your own healthy concoction that tastes much better than a pill, and at a fraction of the price!
Unfortunately most of the jars of sauerkraut you get from the store or market, have been heated and canned. This process kills all those healthy probiotics. This doesn’t make it an unhealthy food, just not as beneficial as a raw fermented condiment.
Tips/Suggestions
If you have a food processor or large blender you can chop or pulse the cabbage much more quickly.
You can add all sorts of distinct flavors to make your sauerkraut unique by including some fresh grated ginger, garlic, caraway seeds or other herbs and spices.
You can pack the kraut into any glass jars. Wide mouth mason jars work well because you can fit your whole hand in to pack it down tightly.
Sometimes the jars will spill over a bit so it’s a good idea to place the filled jars on a plate to catch the overflow if there is any.
Bubbles are good! The bubbles are a sign that fermentation is taking place and the sauerkraut is producing probiotics.
If you see a few white spots or mold on the top, you can scrape it off and /or discard that outer leaf. Everything underneath is probably fine. If there is mold throughout the jar, pink color a very putrid odor or taste, it is advisable to throw away. Be aware that while bad bacteria can begin to grow in this process, since the good bacteria aren’t being killed off through heating, as in canned goods, there is extremely low risk of getting sick from raw fermented sauerkraut.
Homemade Sauerkraut Recipe
Ingredients
- 1 medium green cabbage
- 2 Tablespoon sea salt (see below for additional instructions on measuring salt quantitiy)
Instructions
- Pull off the outer leaves of cabbage and reserve (don’t throw these away, they will be useful later on!)
- Core the cabbage and chop as finely as you prefer (a finer chop will ferment more quickly).
- Place the cabbage in a very large bowl (or a stockpot) and add salt. Let it sit for about 20 minutes to allow the salt to soften the cabbage.
- Now it gets a little messy. Start pounding it with a meat tenderizer until juices come out (this is a great stress reliever—keep pounding away for a good 10 minutes or more!). After that, massage and squeeze the cabbage for several minutes. What you’re trying to do in this process is to break up the cell walls and expose as much of the cabbage to the salt as possible.
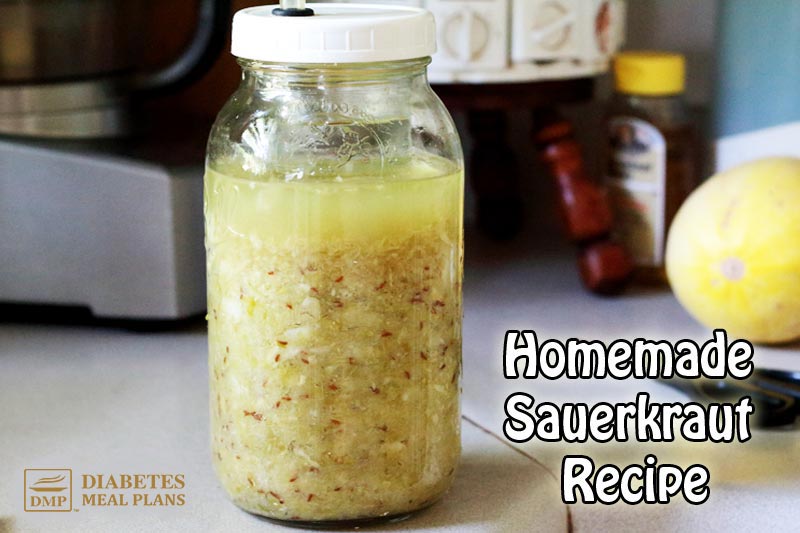
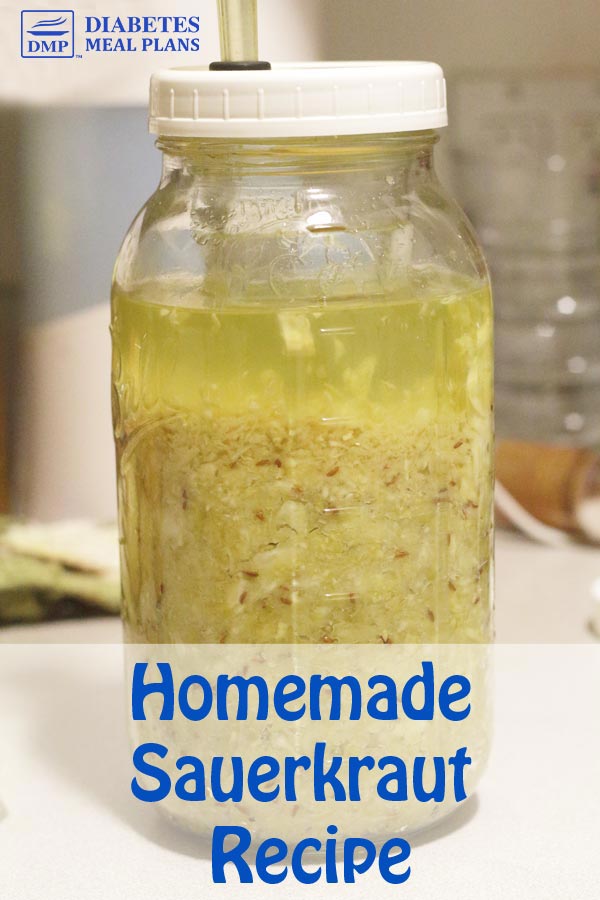
- Pack the sauerkraut into wide mouth mason jars. Smoosh it as tightly as possible so that all of the cabbage is submerged under the liquid (this is very important…if any cabbage leaves are exposed they will likely get moldy).
- Make sure there is at least 1 inch of headspace at the top as there will be some expansion.
- Take those outer cabbage leaves you saved and use them as a seal over the chopped stuff, pressing it down around the edges to hold all the kraut under the liquid (then if there is mold on this top leaf, you can always just toss it).
- Seal the jar tightly and place in a cool dark place (basement or tall cabinet).
- After the first day or two, go in and ‘burp’ the jars (twist open to release pressure, then quickly close again) to prevent jars from exploding as pressure will build up initially.
- Wait 1 week, then open it up and taste some. Continue to do this** until it’s cultured to your liking (usually a bit longer around 2 weeks), then place it in the refrigerator to stop fermentation. Serve on meats, chicken, fish, veg, celery – dip, spread and enjoy!
Notes
Kitchen Tools
Please share, pin, or tweet this post. :)


Terri
I tried this recipe and now I love making my own sauerkraut! Only difference is I used a large crock with another crock sitting inside holding the kraut and leaves down. Covered it all with a towel and waited. I only had a very slight amount of mold form that was easily removed during the process.
Emily - Dietitian (MS, RD)
Awesome to hear!
Billy
This is the first article and recipe I’ve seen that includes nutritional information! The amount of calories that cabbage doesn’t have is so rewarding. I would chow on sauerkraut all day if my family wouldn’t look at me weird! My Grandpa would be proud, he used to make his own sauerkraut at home and we would have it with every family dinner. Thank you for sharing this, I can’t wait to try it!
Lori
This recipe mentions the cabbage being “under the liquid” but there is no liquid in the instructions. Is this just the liquid that builds up from the cabbage releasing water?
Elizabeth
Good question Lori–you are correct in that the liquid is from the juices released. Ideally through mashing it up really good and letting the salt do it’s work, it will breakdown the cabbage and there will be sufficient liquid (I find that squeezing it helps a bit too). However, if there isn’t enough liquid, just top it off with some filtered water to make sure the cabbage is submerged. Happy fermenting!